DIY Wooden Signs: Step-by-Step Guide and Workshop
- kathiemcbreen
- Sep 12, 2025
- 4 min read
Updated: Sep 21, 2025
Creating your own wooden signs can be a fun and rewarding project. Whether you want to add a personal touch to your home, create a unique gift, or start a small business, wooden signs are a great way to express your creativity. In this guide, we will walk you through the entire process of making your own wooden signs, from gathering materials to finishing touches.
Why Wooden Signs?
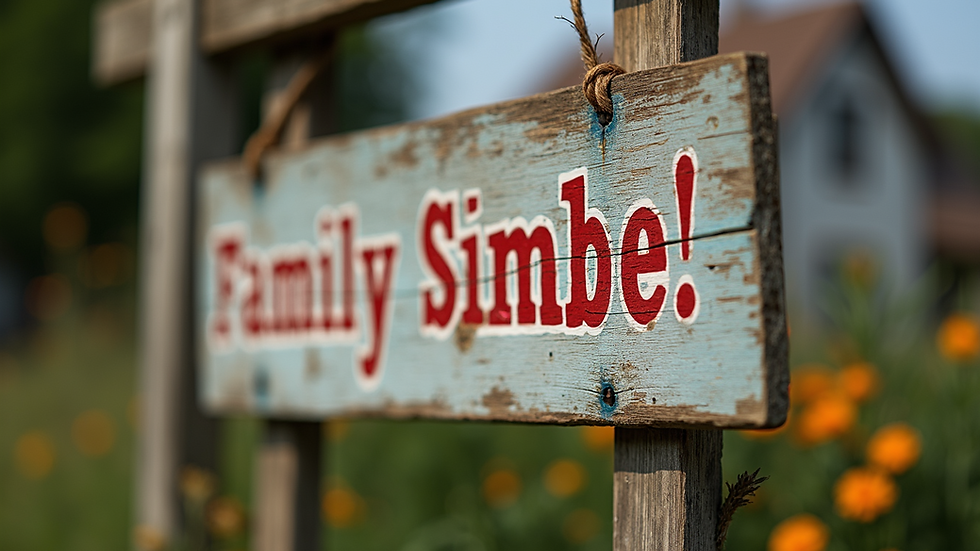
Wooden signs have a rustic charm that can enhance any space. They are versatile and can be customized to fit any style. You can use them indoors or outdoors, and they make excellent decor for homes, gardens, and events.
Additionally, making wooden signs can be a therapeutic activity. It allows you to focus on a creative task and can be a great way to unwind. Plus, you get to enjoy the satisfaction of creating something with your own hands.
Materials You Will Need
Before you start, gather the following materials:
Wood: Choose a type of wood that suits your project. Common options include pine, cedar, or plywood.
Paint or Stain: Select colors that match your decor or personal style.
Brushes: Use different sizes for painting and detailing.
Sandpaper: This will help smooth the edges and surface of your wood.
Stencils or Vinyl Letters: These can help you create clean and professional-looking designs.
Sealant: A clear sealant will protect your sign from the elements if it will be outdoors.
Tools: You may need a saw, drill, or other tools depending on your design.
Step 1: Choose Your Design
Start by deciding what you want your sign to say. It could be a quote, a family name, or a simple word like "Welcome."
Sketch your design on paper first. This will help you visualize the final product. Consider the size of the sign and the font style.
Step 2: Prepare the Wood
Once you have your design, it’s time to prepare the wood.
Cut the Wood: If you need a specific size, use a saw to cut the wood to your desired dimensions.
Sand the Edges: Use sandpaper to smooth out any rough edges. This will help prevent splinters and give your sign a polished look.
Clean the Surface: Wipe the wood with a damp cloth to remove any dust or debris.
Step 3: Apply Base Coat
Before adding your design, apply a base coat of paint or stain.
Choose a Color: Pick a color that complements your design.
Apply Evenly: Use a brush to apply the paint or stain evenly across the surface.
Let It Dry: Allow the base coat to dry completely before moving on to the next step.
Step 4: Add Your Design
Now it’s time to bring your design to life.
Use Stencils or Vinyl Letters: If you are using stencils, secure them to the wood with tape. If you are using vinyl letters, peel and stick them onto the wood.
Paint Over the Design: Use a contrasting color to paint over the stencils or letters.
Remove Stencils or Letters: Once the paint is dry, carefully remove the stencils or letters to reveal your design.
Step 5: Finishing Touches
To ensure your sign lasts, add a few finishing touches.
Sand Again: Lightly sand the edges of your design to create a distressed look if desired.
Apply Sealant: If your sign will be outdoors, apply a clear sealant to protect it from the weather.
Add Hanging Hardware: If you plan to hang your sign, attach hooks or a wire to the back.
Tips for Success
Practice First: If you are new to painting or lettering, practice on a scrap piece of wood first.
Take Your Time: Don’t rush the process. Allow each layer of paint to dry completely before moving on.
Be Creative: Feel free to experiment with different colors, fonts, and designs.
Workshop Ideas
If you want to take your wooden sign-making skills to the next level, consider hosting a workshop.
Gather Your Friends
Invite friends or family members who are interested in crafting.
Set Up a Space
Create a comfortable workspace with enough room for everyone to work.
Provide Materials
Make sure to have all the necessary materials on hand. You can even provide different types of wood and paint for variety.
Share Techniques
Take turns sharing your techniques and tips. This can help everyone improve their skills and learn new methods.
Inspiration for Your Signs
Here are some ideas to inspire your wooden sign creations:
Home Decor: Create signs with family names, established dates, or favorite quotes.
Garden Signs: Make signs for different plants or garden areas.
Event Decor: Design signs for weddings, parties, or other events.
Business Signs: If you have a small business, consider making a sign to promote your brand.
Conclusion: Unleash Your Creativity
Making wooden signs is not just a craft, it is a way to express yourself. With a few materials and some creativity, you can create beautiful pieces that reflect your personality.
So gather your supplies, invite some friends, and start crafting. You may find that this simple project brings joy and satisfaction to your life.
Remember, the only limit is your imagination. Happy crafting!


Comments